
 Daniel Taylor
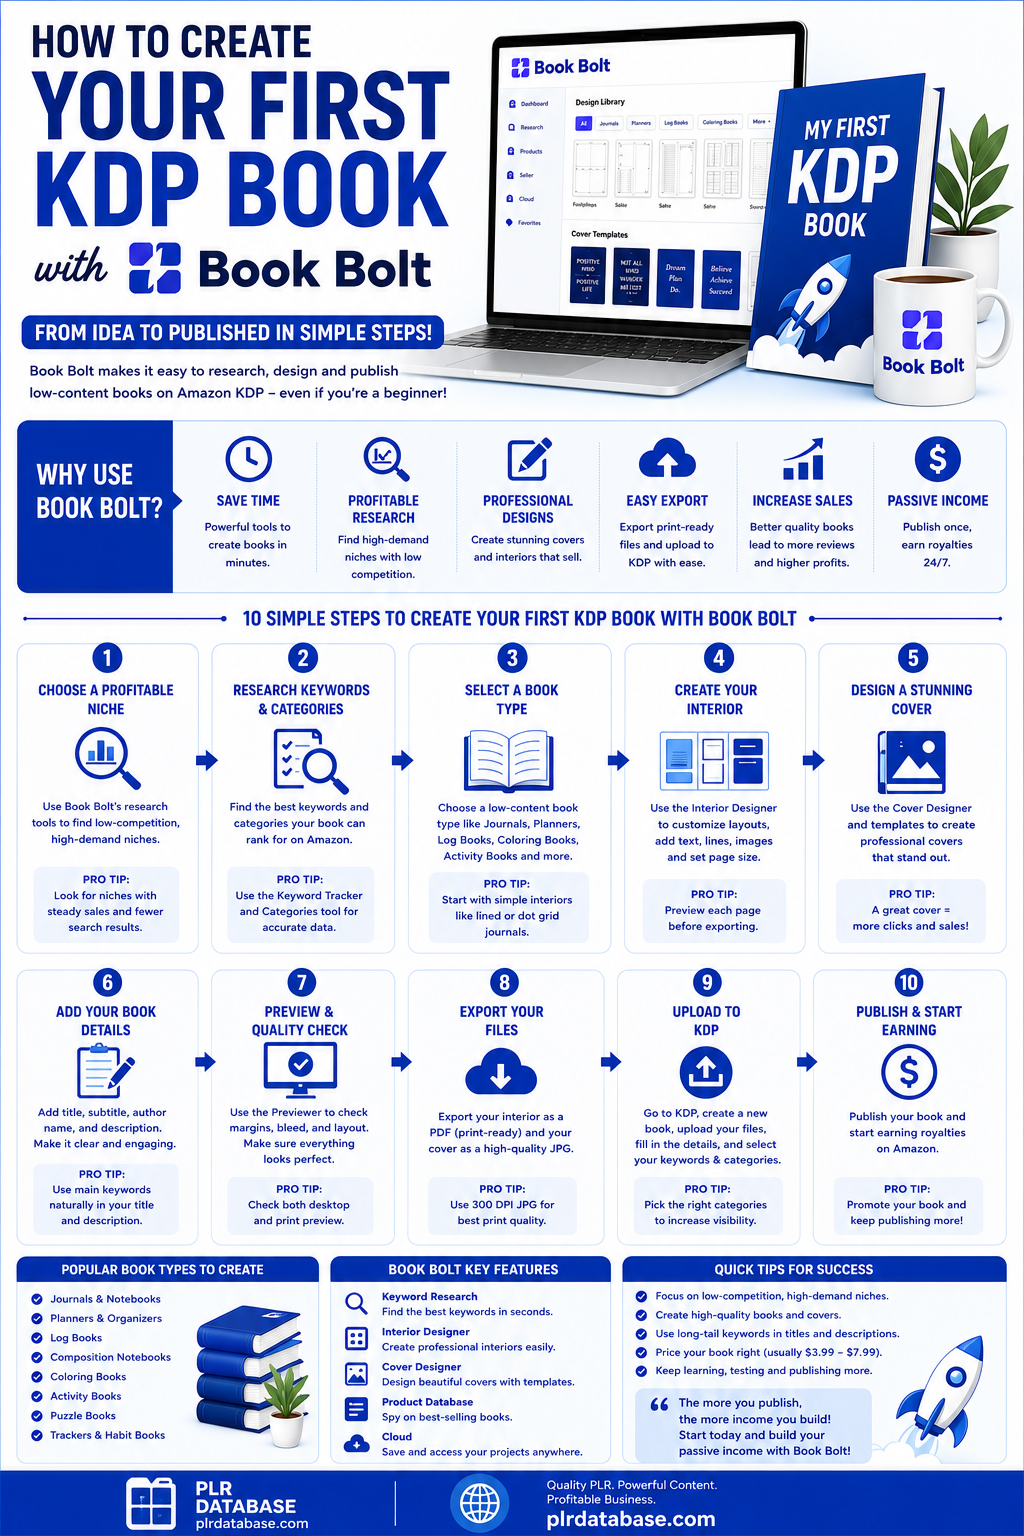
Creating a book for Amazon can feel overwhelming when you are new. You need an idea, keywords, an interior, a cover, and the correct publishing categories. Fortunately, Book Bolt brings these tasks together in one place.
Book Bolt is designed mainly for people creating low- and medium-content books, including journals, planners, colouring books, puzzle books and activity books. Its research tools help you discover what customers are searching for, while Book Bolt Studio helps you design the finished book.
In this beginner-friendly tutorial, I will show you how to research an idea and create a simple travel journal from scratch. I am using a journal because it is one of the easiest projects to begin with.
Quick note: Although people sometimes use “ebook” as a general term for a self-published book, this tutorial creates a print-ready paperback for Amazon KDP. Blank journals are generally intended for print rather than the Kindle ebook format.
In This Article
Step 1: Research Your Book Idea
Explore Existing Products
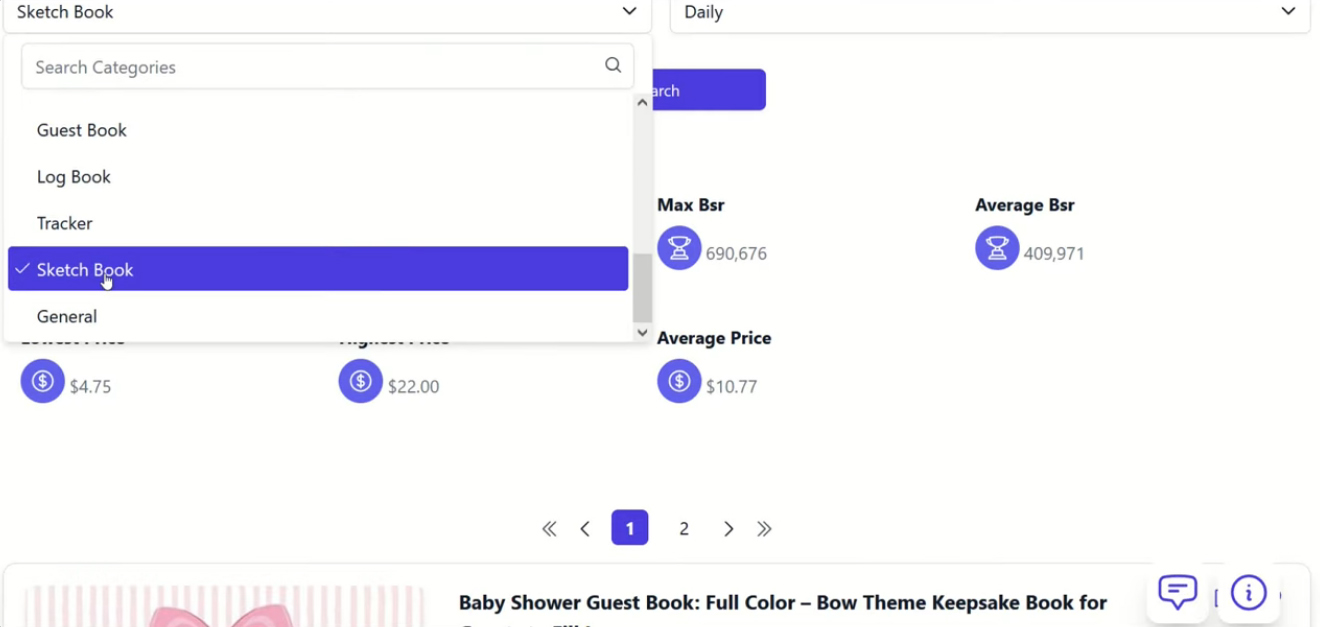
Before opening the design tools, spend a little time checking whether people are already buying books related to your idea.
Open Book Bolt’s Product Research tool and enter a simple phrase. For this tutorial, we could search for “Florence Italy” and select journals as the product type.
The results can show useful information such as:
- Best Seller Rank, usually shortened to BSR
- Estimated sales
- Selling price
- Customer rating and reviews
- Publication date
BSR is Amazon’s sales-ranking system. In simple terms, a lower BSR usually suggests that a product is selling more regularly. However, do not choose a subject based on one successful book alone. Look through several results and search for patterns in their titles, covers, prices and customer reviews.
My advice is to use successful books for inspiration, but never copy someone else’s cover, title or interior. The aim is to understand what customers want and then create your own version for a specific audience.
Find Useful Search Terms
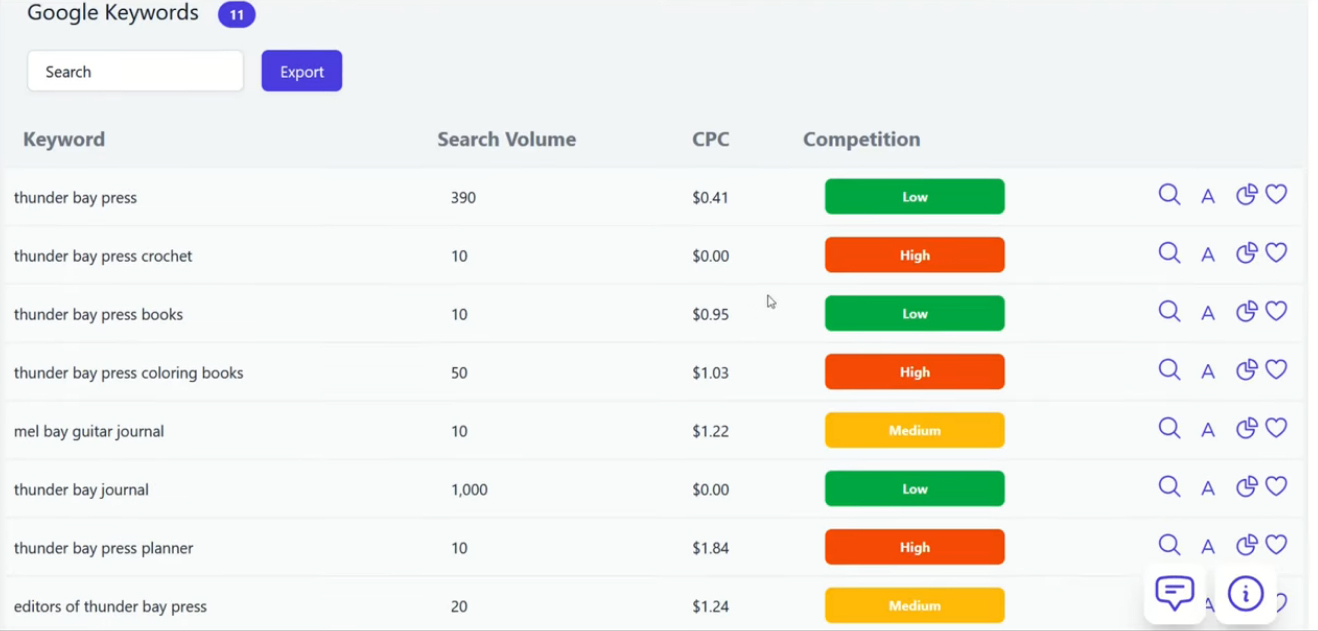
Next, open Keyword Research and enter your main idea, such as “Italy travel journal.”
Book Bolt can provide related Amazon and Google terms, along with information such as search volume and competition. These suggestions may help you turn a broad idea into something more focused.
For example, “travel journal” is very broad. “Florence travel journal for first-time visitors” speaks to a clearer audience. A smaller niche may receive fewer searches, but it can also have less competition.
Write down several natural phrases that genuinely describe your book. You can later use them when preparing its title, subtitle, description and KDP keyword fields. Avoid forcing the same phrase into every sentence. Your listing should still sound as though it was written for a person.
Choose an Accurate Category
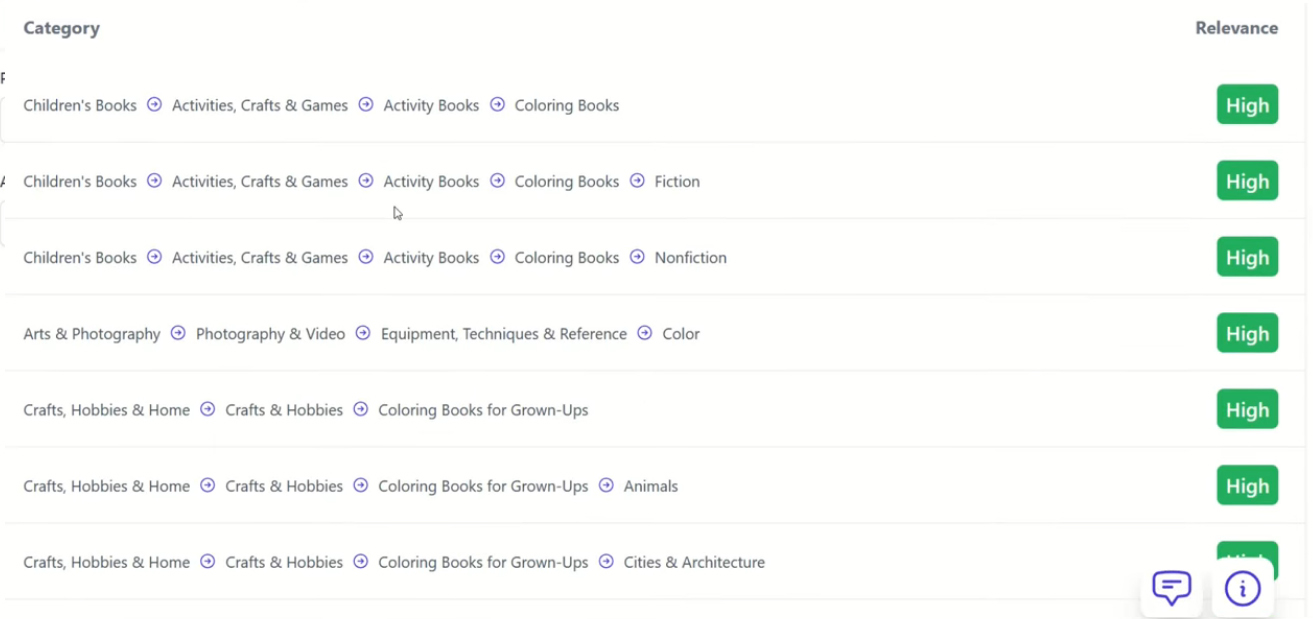
The KDP Category Finder helps you identify Amazon categories connected to a keyword or niche.
Enter a phrase such as “travel journal” and review the suggested category paths. Choose categories that closely match the actual content of your book. A less competitive category may look attractive, but relevance matters more. Placing a book in an unrelated category can disappoint customers and may create problems with Amazon.
Step 2: Start a New Book Bolt Studio Project
Now it is time to build the book.
Open Book Bolt Studio and sign in. If an older project appears automatically, select Project and then New Project.
Choose the following settings for this example:
- Format: Paperback
- Project contents: Cover and interior
- Project name: Florence Travel Journal
- Trim size: 8.5 × 11 inches
- Interior: Black and white on white paper
- Page count: 50 pages
Check these choices carefully before selecting Create Project. Your trim size, paper type and page count affect the dimensions of both the interior and the cover.
Step 3: Create the Interior Pages
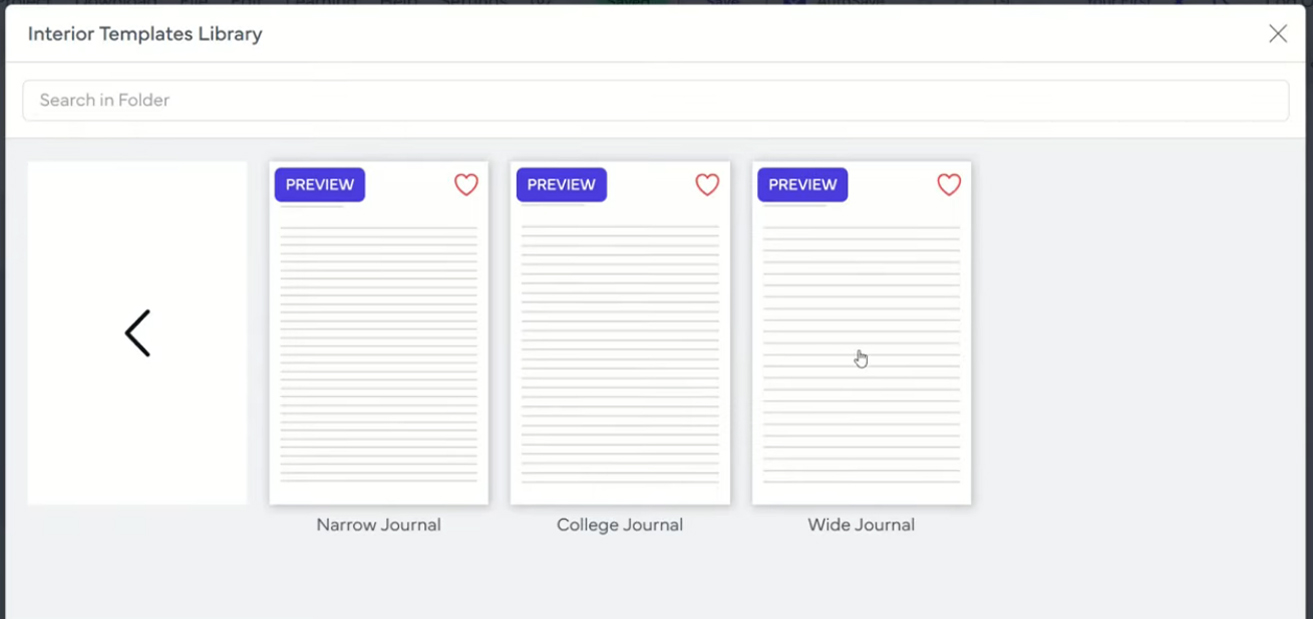
Select the first interior page and open the Interior Templates Library or page-template tool.
Book Bolt includes templates for journals, planners, music sheets, graph paper, puzzles, mazes, to-do lists and other book types. For our project, choose the journal collection. You may see narrow-rule, college-rule and wide-rule options.
Select Wide Journal, followed by all the interior pages on which you want it to appear. Be careful not to apply the lined template to the cover.
The next screen allows you to adjust details such as:
- Distance between lines
- Line width and colour
- Top-line settings
- Page margins
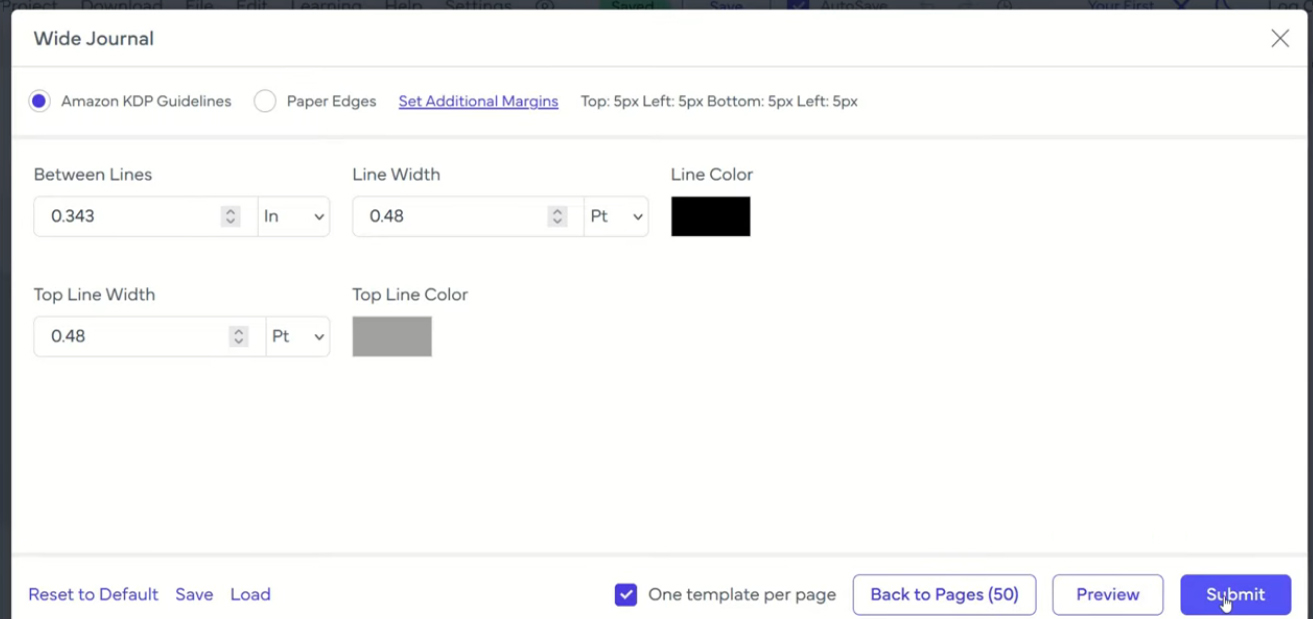
If this is your first book, the default settings are a sensible starting point. Select Preview to inspect the result and then Submit to apply the template.
Your 50 blank pages should now be filled with evenly spaced writing lines. I find this one of Book Bolt’s most helpful features because it removes a large amount of repetitive design work.
Step 4: Design the Cover
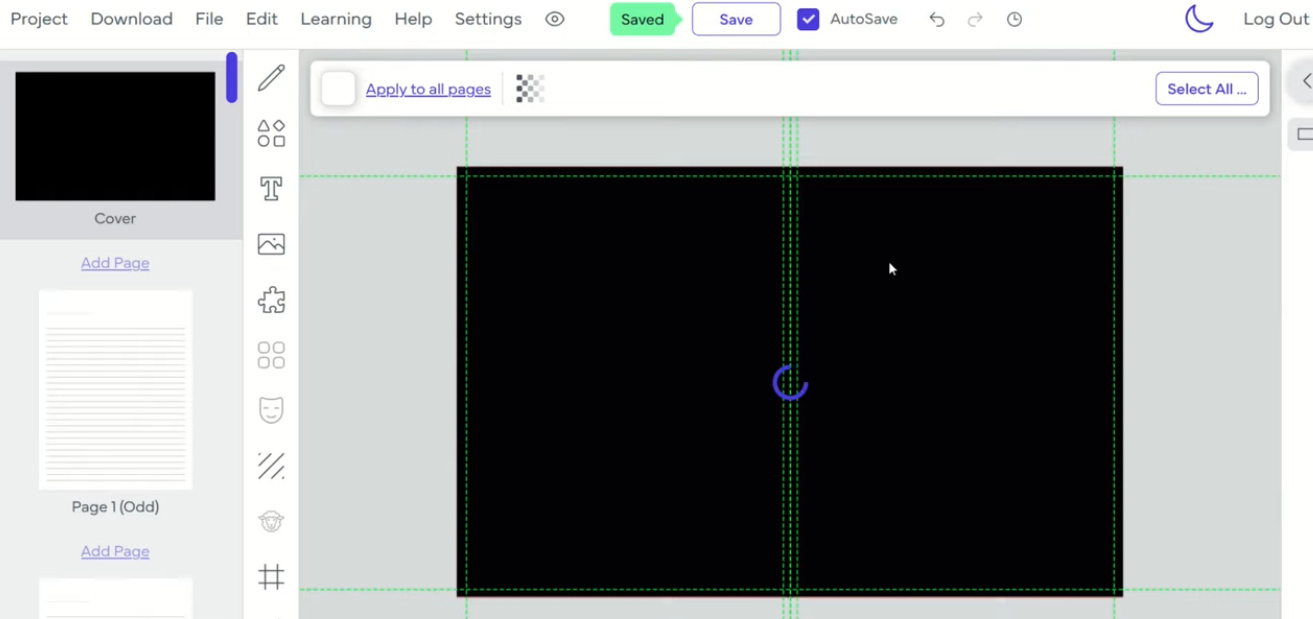
Select Cover from the page list. The guide lines on the canvas mark the front, spine, back, trim and safe areas.
Start by adding a rectangle and stretching it across the complete cover. This gives you a consistent background. You can then open the image library and either upload your own licensed image or search the available Pixabay and Unsplash libraries.
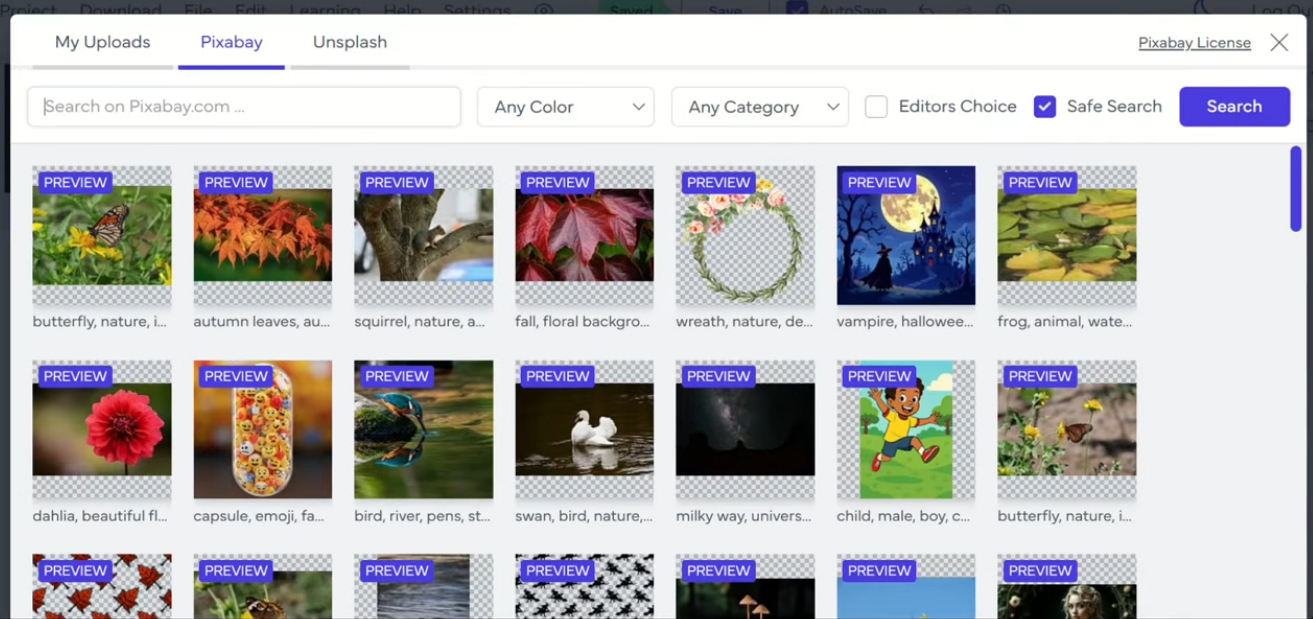
For our example, search for “Florence” and choose an image that leaves enough clear space for the title. Add a text heading such as Florence Travel Journal, select an easy-to-read font and position it on the front cover.
Keep important words and images inside the safe-area guides. Do not place text over the trim lines or too close to the spine. I also recommend keeping the design simple. One strong image and a clear title will often look better than a cover filled with competing elements.
Step 5: Review and Export Your Book
Preview every part of the project before downloading it. Check that:
- The title is spelled correctly
- Images are clear and properly licensed
- Text stays inside the safe area
- The cover dimensions match the interior
- Every page has the intended template
- No temporary guide or template layer remains visible
Once everything looks correct, use the download menu to export the files required for Amazon KDP. Upload the interior and cover to KDP, add your researched title, description, keywords and categories, and use Amazon’s previewer for one final check.
Your first book does not need to be complicated. Start with one useful idea, create a clean design and learn from the process. After completing a simple journal, you can apply the same workflow to planners, colouring books, puzzle books and more detailed publishing projects.
If you're interested in using this software, you can sign up below:
Start your KDP journey with Book Bolt by creating your first book for free.
Create. Publish. Profit. Risk-free 3-day free trial. No design experience needed. Cancel anytime.
Start your KDP journey with Book Bolt by creating your first book for free.
About the Author





0 Comments
Start The Conversation